There’s something special about Russian blini—small, delicate pancakes that are as rich in history as they are in flavor. Whether enjoyed during Russia’s festive Maslenitsa (a traditional holiday marking the end of winter) or as part of a cozy breakfast, these pancakes have a way of making every moment feel more indulgent. Traditionally, blini are light, fluffy, and served with a variety of toppings, making them as versatile as they are delicious.
In this guide, we’ll show you how to recreate the magic of Russian blini right in your own kitchen. With just five simple steps, you’ll be able to make these authentic pancakes, perfect for breakfast, brunch, or any special occasion.
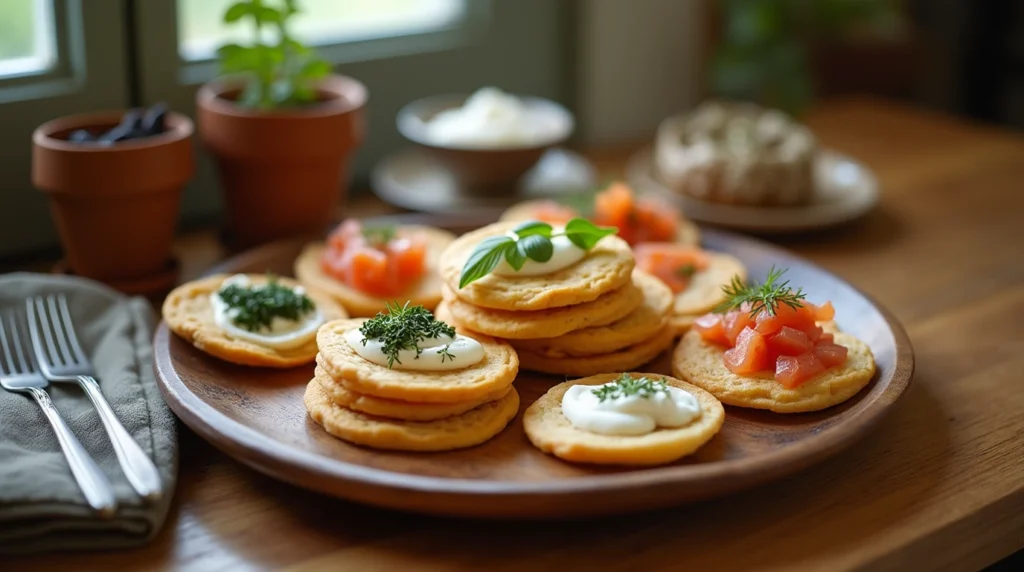
Table of Contents
1. Essential Ingredients for Russian Blini
Before diving into the cooking process, let’s take a look at the ingredients you’ll need to make these delightful Russian blini.
For the Pancake Batter:
- 1 1/2 cups all-purpose flour (approximately 180 grams)
- 2 teaspoons granulated sugar
- 1/2 teaspoon salt
- 1 1/4 cups warm milk (about 110°F or 45°C)
- 2 large eggs
- 1/2 teaspoon dry yeast
- 2 tablespoons melted butter
- 1/2 teaspoon baking powder
- Vegetable oil (for frying, about 2 tablespoons)
Toppings (Optional but Highly Recommended):
- Sour cream
- Caviar (for a traditional touch)
- Smoked salmon
- Jams (such as strawberry, apricot, or raspberry)
- Honey or maple syrup
2. Step-by-Step Process to Make Russian Blini
Making blini is a straightforward process, but there are a few key techniques to ensure they turn out perfectly. Follow these simple steps:
Step 1: Activate the Yeast
- Prepare the Yeast: In a small bowl, warm up the milk until it reaches a comfortable lukewarm temperature (around 110°F or 45°C). Stir in the sugar and sprinkle the yeast over the milk. Let the mixture sit for 5 to 10 minutes, until it becomes bubbly and foamy. This means the yeast is active and ready for use.
Step 2: Combine the Ingredients
- Whisk Dry Ingredients: In a separate, larger bowl, combine the flour, salt, and baking powder. Mix them together to ensure an even distribution of ingredients.
- Add Wet Ingredients: In the bowl with the activated yeast, whisk in the eggs and melted butter. Stir until the mixture is smooth.
- Mix Wet and Dry: Gradually pour the wet ingredients into the dry ingredients while stirring continuously. Continue mixing until the batter is smooth and slightly thickened. Be careful not to overmix, as this could affect the texture of the blini.
- Let the Batter Rest: Cover the bowl with a clean kitchen towel or plastic wrap and place it in a warm spot for about 30 to 60 minutes. The batter will rise slightly due to the yeast, giving the blini their light and airy texture.
Step 3: Cook the Blini
- Prepare the Pan: Heat a non-stick or cast-iron skillet over medium heat. Lightly grease the pan with a small amount of vegetable oil, ensuring an even coating.
- Pour the Batter: When the pan is hot, pour a small ladleful of batter (about 2 tablespoons) into the center of the skillet. Gently tilt the pan to spread the batter evenly into a thin, round layer.
- Cook the First Side: Let the blini cook for around 1 to 2 minutes, or until the edges start to turn golden brown. Once the underside is nicely browned, flip the pancake with a spatula.
- Cook the Other Side: Allow the blini to cook for an additional 1 to 2 minutes on the second side until it becomes golden and slightly crisp.
- Repeat for Remaining Batter: Continue cooking the remaining blini, making sure to add a little more oil to the pan as needed to prevent sticking.
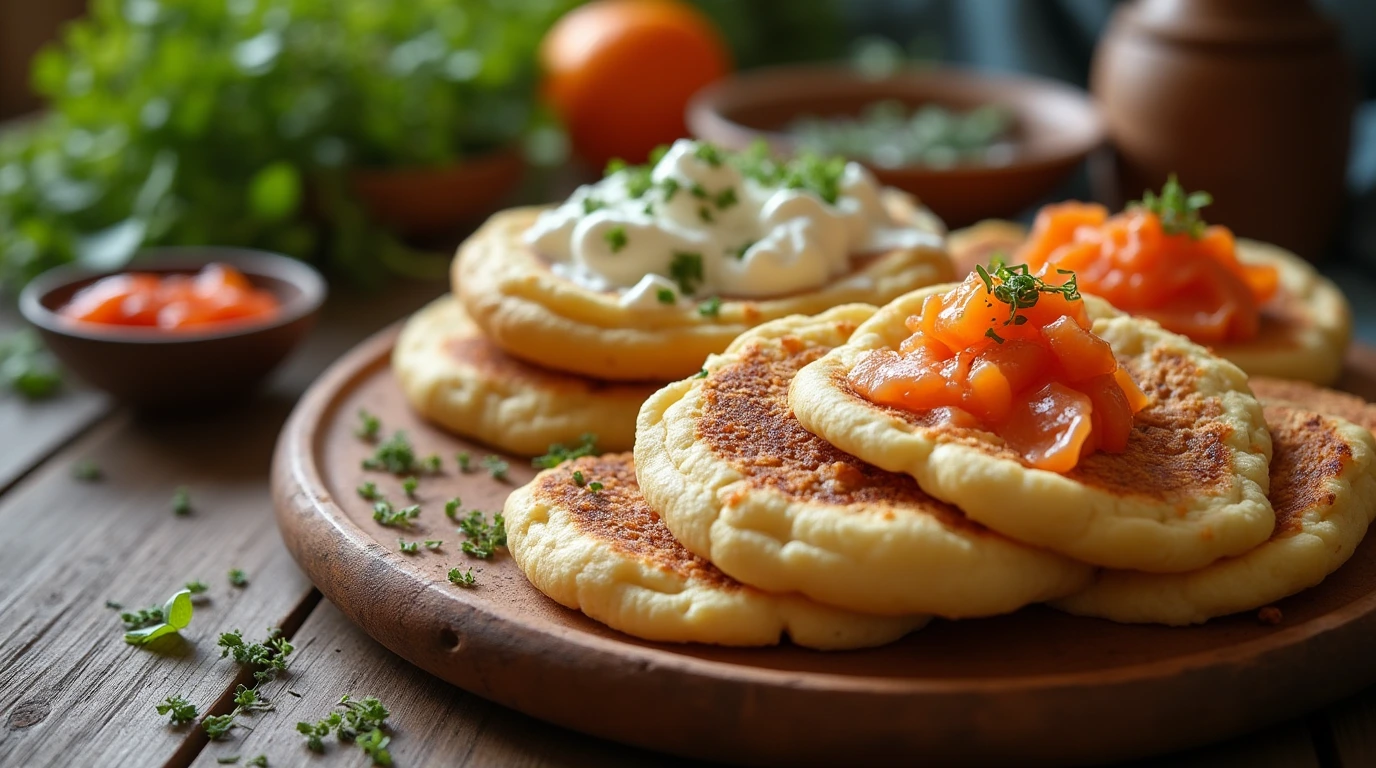
Step 4: Serve and Customize
Once your blini are golden and cooked to perfection, it’s time to serve them! These pancakes are incredibly versatile, so you can customize them with various toppings based on your preference.
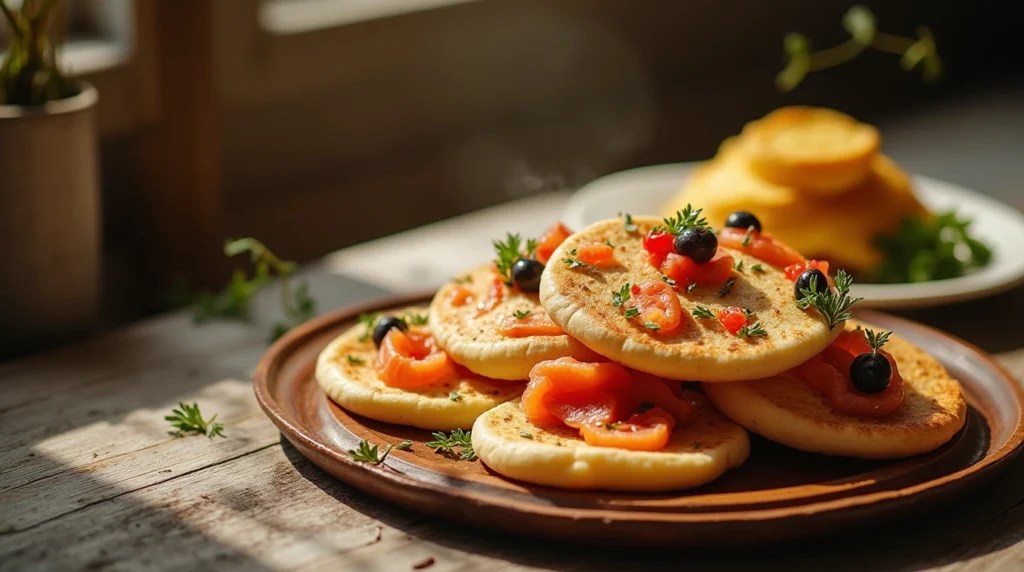
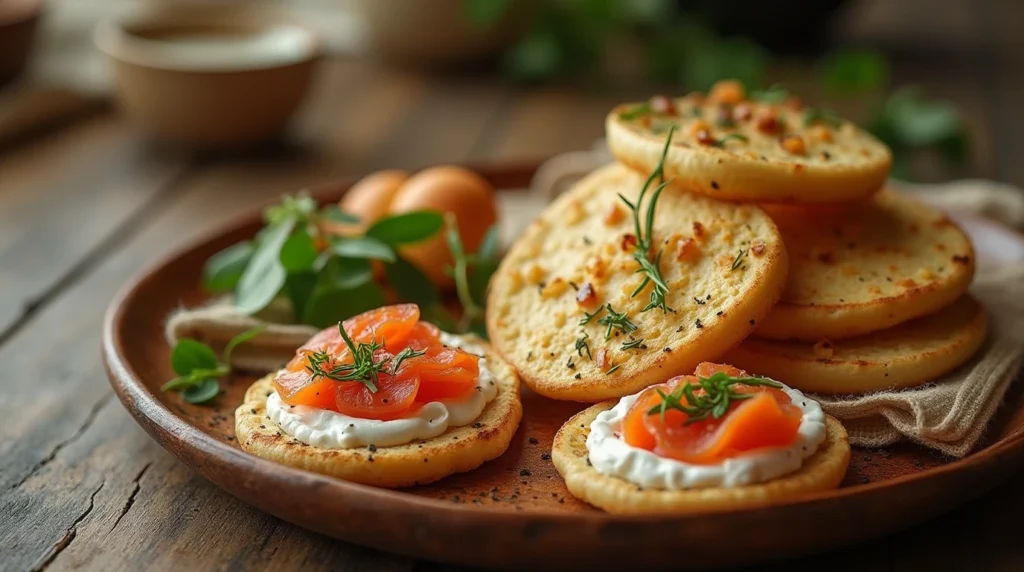
- Traditional Style: Top each blini with a dollop of sour cream and a spoonful of caviar for an authentic Russian experience. You could also add some smoked salmon for a luxurious touch.
- Sweet Style: If you prefer a sweeter version, spread your blini with a generous layer of jam, honey, or maple syrup.
These blini are perfect for any occasion—whether you’re enjoying a relaxing weekend breakfast or hosting a party.
3. Creative Variations and Tips for Your Russian Blini
- Mini Blini: If you’re hosting a party or want to serve bite-sized snacks, consider making mini blini. Just reduce the amount of batter you pour into the skillet and cook smaller pancakes. They’re great as appetizers and can be topped with various savory or sweet fillings.
- Savory Options: You can turn your blini into savory treats by adding fillings such as sautéed mushrooms, onions, or even cheese before folding them over. Smoked trout, bacon, or cream cheese are also great savory additions.
- Gluten-Free Version: For those who need a gluten-free option, you can substitute the regular all-purpose flour with a gluten-free flour blend. While the texture may differ slightly, the result will still be delicious.
- Sweet Add-ins: Experiment with sweet additions like chocolate chips, berries, or cinnamon in the batter to give your blini a unique flavor profile.
4. Storage and Reheating
If you have any leftover blini, they can be stored and enjoyed later.
Storing:
Allow the blini to cool completely before storing them in an airtight container. They will keep for about 2-3 days in the refrigerator.
Reheating:
To reheat your blini, place them in a skillet over medium heat for about 1-2 minutes on each side, or microwave them for 20-30 seconds. Reheating in a skillet will give them back their slight crispiness.
5. Healthier Alternatives for Your Russian Blini
While blini are undoubtedly delicious, they can be rich in calories due to ingredients like butter and sugar. Here are a few ways to make your blini a bit healthier:
- Whole Grain Flour: Consider using whole wheat flour or a mix of whole grain and all-purpose flour to increase the fiber content of the pancakes.
- Use Greek Yogurt: Instead of sour cream, try topping your Russian blini with low-fat Greek yogurt. It provides a creamy texture without as much fat.
- Lower Sugar: If you prefer a less sweet pancake, reduce the amount of sugar in the batter and opt for natural sweeteners like honey or stevia.
Conclusion: Enjoy Your Homemade Russian Blini!
Now that you know how to make these mouthwatering Russian blini, it’s time to put your new skills to the test! These pancakes are perfect for impressing guests or treating yourself to a comforting breakfast. Whether served with savory toppings like smoked salmon or with a dollop of jam for a sweeter experience, Russian blini are sure to be a hit.
So, get cooking, experiment with toppings, and enjoy these traditional Russian pancakes in the comfort of your own home. You’ll soon discover why they’ve been cherished for centuries!
Essential Tools for Russian Blini
For perfect Russian Blini, use these tools:
- Non-stick frying pan for even cooking (Get it now)
- Ladle for easy batter pouring (Get it now)
- Whisk for smooth batter (Get it now)
- Spatula for flipping (Get it now)
How was your experience with this recipe?
There are no reviews yet. Be the first one to write one.
